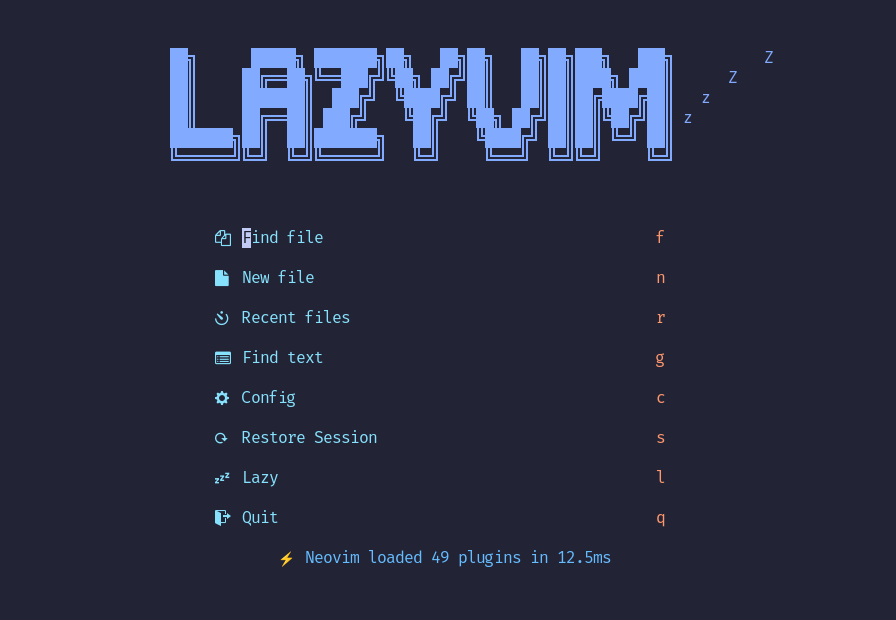
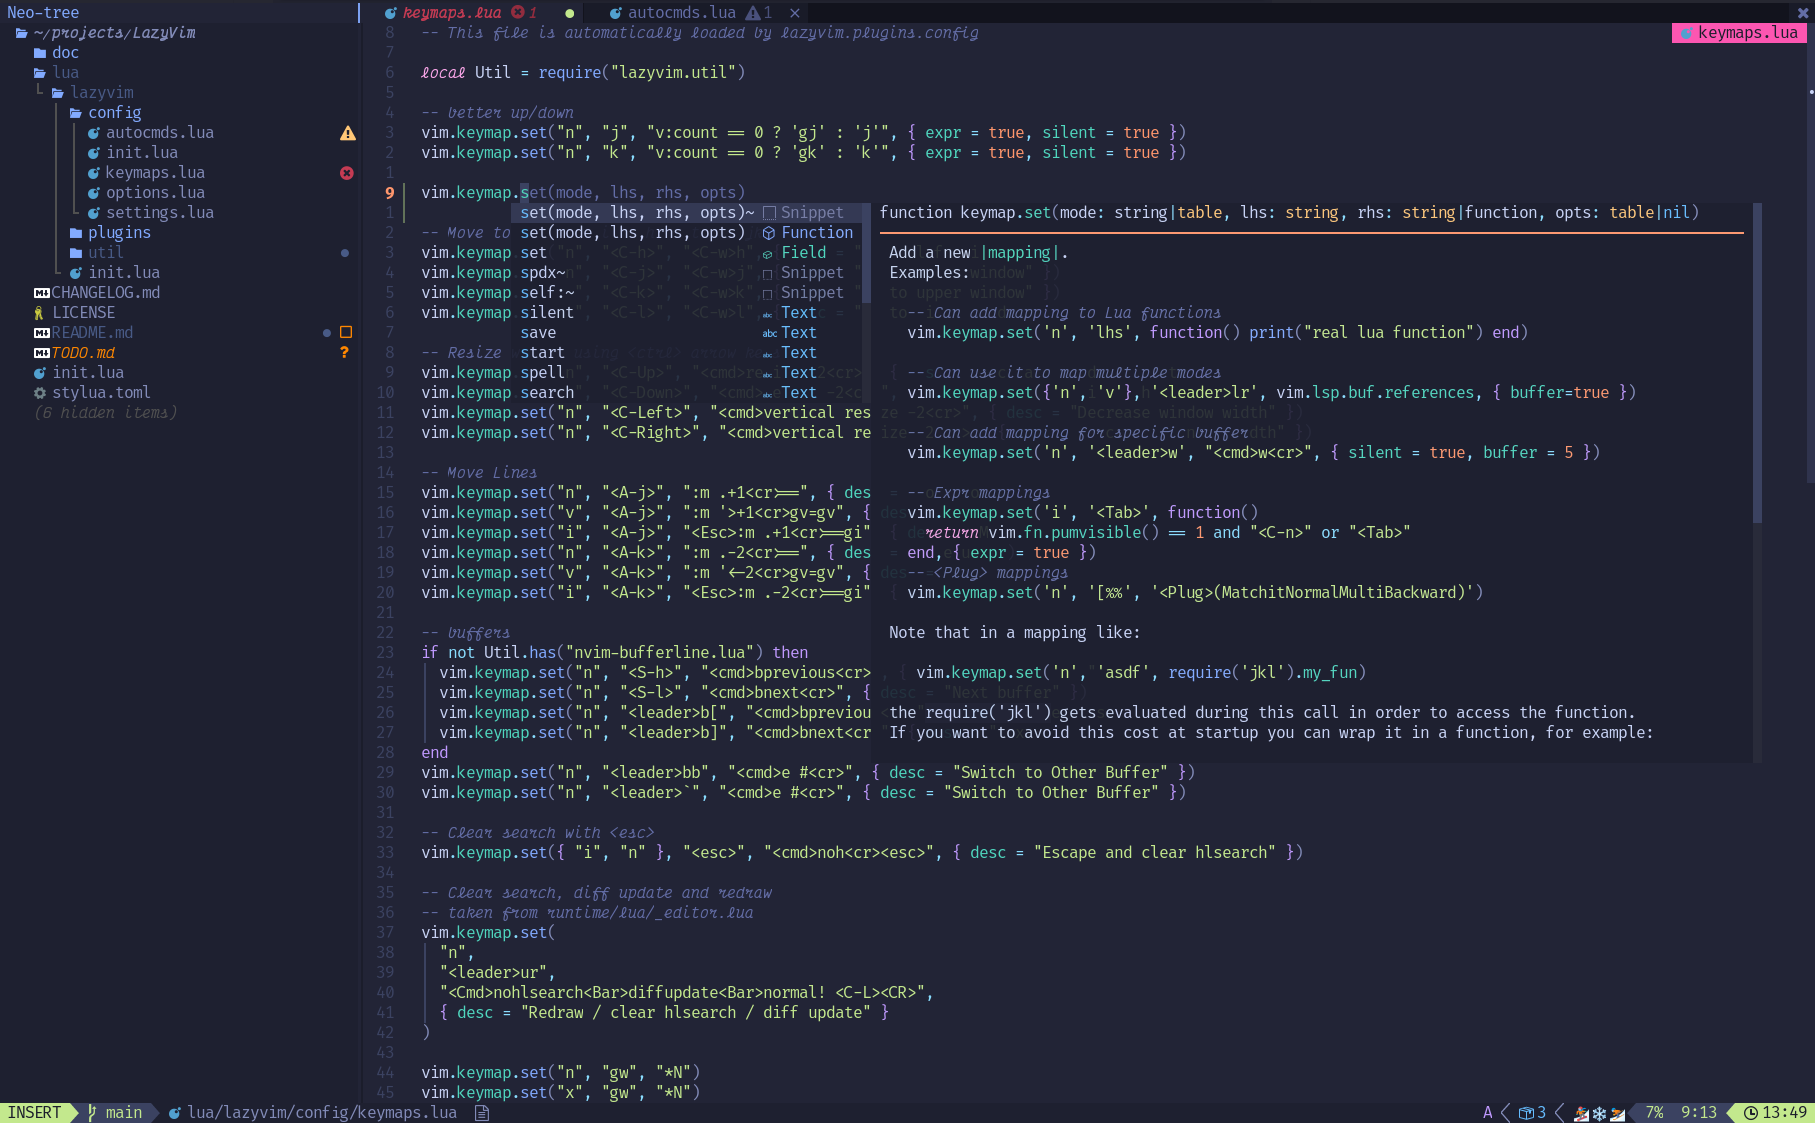
## Description The color used in lualine was previously static and did not update dynamically when a new colorscheme was applied. This resulted in inconsistencies between the theme and the lualine colors, as the 'local' color table returned the highlight color defined during initialization. This pull request resolves the issue by ensuring that the lualine colors are always in sync with the current colorscheme. It achieves this by using `LazyVim.ui.fg(HIGHLIGHT)` to dynamically fetch the appropriate highlight colors, making the lualine colors responsive to colorscheme changes. ## Related Issue(s) <!-- If this PR fixes any issues, please link to the issue here. - Fixes #<issue_number> --> ## Screenshots **Before**  **After**  ## Checklist - [x] I've read the [CONTRIBUTING](https://github.com/LazyVim/LazyVim/blob/main/CONTRIBUTING.md) guidelines. |
||
|---|---|---|
| .github | ||
| doc | ||
| lua/lazyvim | ||
| queries/lua | ||
| scripts | ||
| tests | ||
| .editorconfig | ||
| .gitignore | ||
| .neoconf.json | ||
| CHANGELOG.md | ||
| CONTRIBUTING.md | ||
| init.lua | ||
| LICENSE | ||
| NEWS.md | ||
| README-CN.md | ||
| README-DE.md | ||
| README-JP.md | ||
| README-KO.md | ||
| README-PT.md | ||
| README.md | ||
| selene.toml | ||
| stylua.toml | ||
| vim.toml | ||

Install · Configure · Docs
LazyVim is a Neovim setup powered by 💤 lazy.nvim to make it easy to customize and extend your config. Rather than having to choose between starting from scratch or using a pre-made distro, LazyVim offers the best of both worlds - the flexibility to tweak your config as needed, along with the convenience of a pre-configured setup.
✨ Features
- 🔥 Transform your Neovim into a full-fledged IDE
- 💤 Easily customize and extend your config with lazy.nvim
- 🚀 Blazingly fast
- 🧹 Sane default settings for options, autocmds, and keymaps
- 📦 Comes with a wealth of plugins pre-configured and ready to use
⚡️ Requirements
- Neovim >= 0.9.0 (needs to be built with LuaJIT)
- Git >= 2.19.0 (for partial clones support)
- a Nerd Font (optional)
- a C compiler for
nvim-treesitter. See here
🚀 Getting Started
You can find a starter template for LazyVim here
Try it with Docker
docker run -w /root -it --rm alpine:edge sh -uelic '
  apk add git lazygit neovim ripgrep alpine-sdk --update
  git clone https://github.com/LazyVim/starter ~/.config/nvim
  cd ~/.config/nvim
  nvim
'
Install the LazyVim Starter
-
Make a backup of your current Neovim files:
mv ~/.config/nvim ~/.config/nvim.bak mv ~/.local/share/nvim ~/.local/share/nvim.bak -
Clone the starter
git clone https://github.com/LazyVim/starter ~/.config/nvim -
Remove the
.gitfolder, so you can add it to your own repo laterrm -rf ~/.config/nvim/.git -
Start Neovim!
nvimRefer to the comments in the files on how to customize LazyVim.
There's a great video created by @elijahmanor with a walkthrough to get started.
@dusty-phillips wrote a comprehensive book called LazyVim for Ambitious Developers available for free online.
📂 File Structure
The files under config will be automatically loaded at the appropriate time, so you don't need to require those files manually. LazyVim comes with a set of default config files that will be loaded before your own. See here
You can add your custom plugin specs under lua/plugins/. All files there
will be automatically loaded by lazy.nvim
~/.config/nvim
├── lua
│   ├── config
│   │   ├── autocmds.lua
│   │   ├── keymaps.lua
│   │   ├── lazy.lua
│   │   └── options.lua
│   └── plugins
│       ├── spec1.lua
│       ├── **
│       └── spec2.lua
└── init.lua
⚙️ Configuration
Refer to the docs


